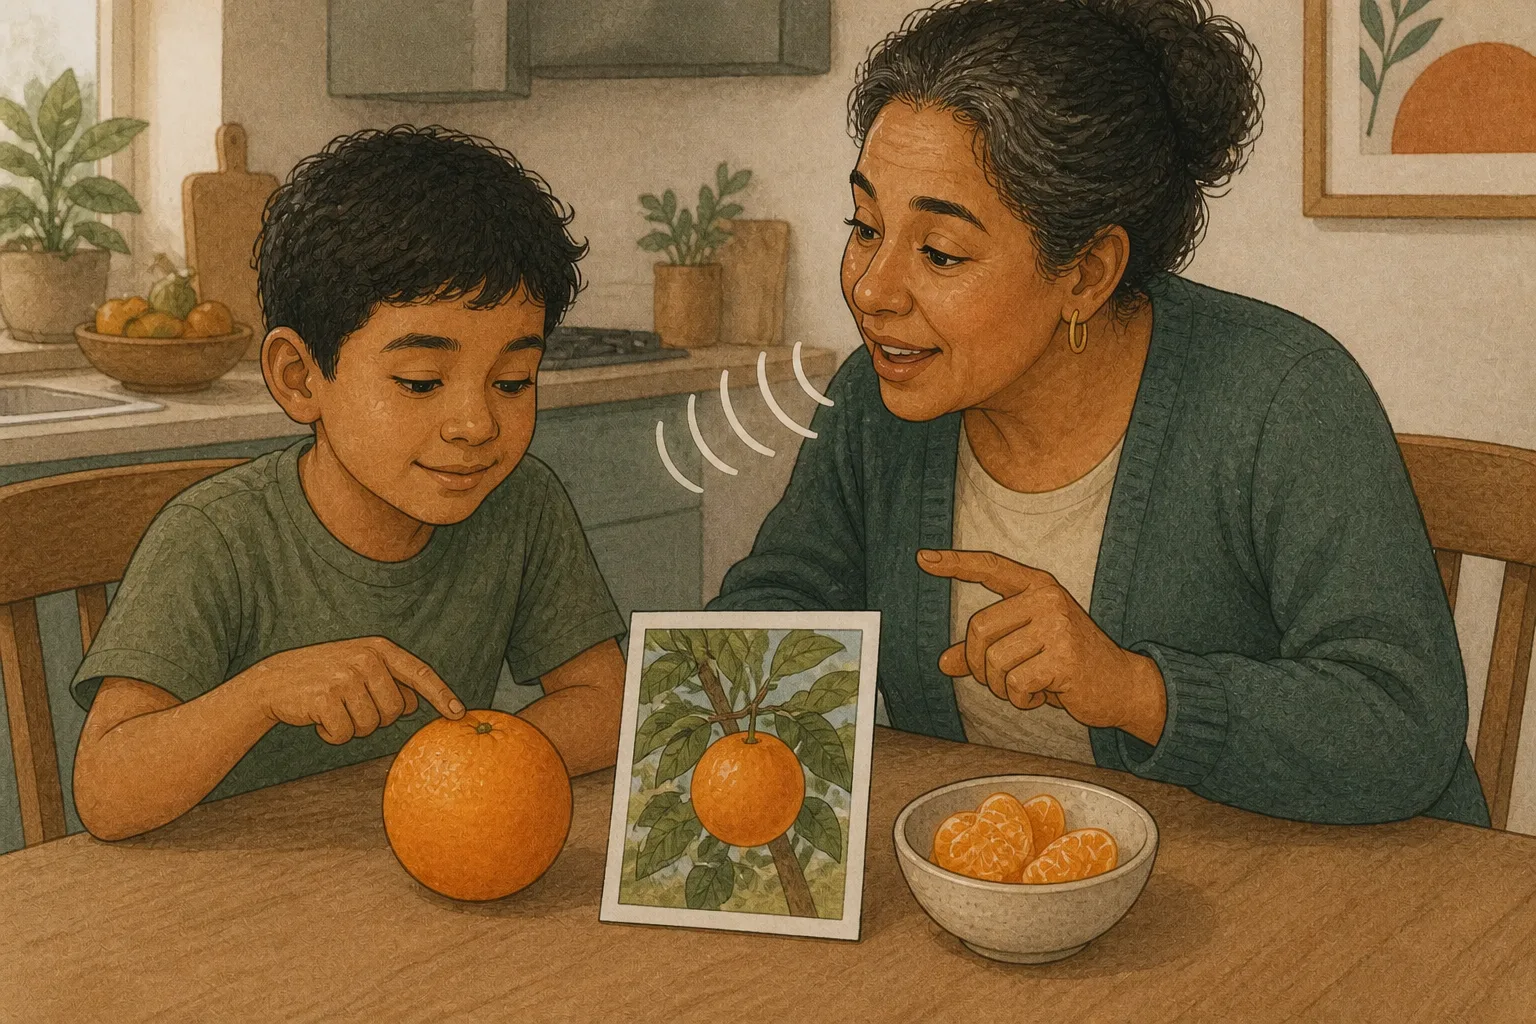
Some autistic children respond more consistently when spoken language is paired with visual information. Visual supports — photos, pictograms and objects — are not a crutch; they are one possible access route when the spoken word alone is not enough. This guide explains how to use them while checking what works for the individual child.
Comprehension first, speech later
Vocabulary has two sides: receptive (understanding a word) and expressive (producing it — speech, but also a gesture, a sign, or a symbol on an AAC device). Receptive usually develops ahead of expressive, and it’s where visual supports shine, though the two don’t move on a strict, mandatory schedule for every child. A child who doesn’t speak yet can show they understand “shoe” by touching the photo of a shoe, and every one of those demonstrations is a brick in the language that comes later.
One structured way to build receptive vocabulary is concrete: hear the word, then choose the corresponding image from several options. It is a match-to-sample task with the spoken word as the sample.
Which words to teach first
Not all words are equal. Criteria that work:
- Things they care about. Favorite foods, favorite toys, the people at home. Motivation does half the work.
- Things they see daily. “Cup” gets practiced twenty times a day by itself; “zebra”, once a year at the zoo.
- Concrete nouns are an easy on-ramp. “Ball” can be photographed directly; “big” requires comparison, which tends to come more easily once a few concrete nouns are solid — but nouns are a convenient starting category, not the only kind of word worth an early goal.
- Words that sound different from each other. At the start, avoid teaching “cat” and “hat” together — similar-sounding words get confused.
A handful of well-chosen words — ten, fifteen, whatever fits your child’s pace — makes a fine first goal; the exact count matters less than the choosing.
How to use images: several formats, not one ladder
Not all images are equally easy, and they come in several formats:
- Real object — the actual shoe.
- Photo of their own object — their shoe, photographed.
- Generic photo — any shoe.
- Pictogram — a schematic drawing of a shoe.
Figure — Four formats for the same word, compared
More abstract
-
Pictogram
A schematic drawing of a ball. The most abstract format here.
-
Generic photo
Any ball, not theirs. This is where the word stops being about one object.
-
Photo of their own
Their ball, photographed. Close to the object without leaving it.
-
The real object Common starting point
The ball itself, in their hands. Nothing to decode.


Closer to the thing
Worth knowing
Starting with the pictogram alone is a common mistake, not a rule against it forever: for some children a schematic drawing does not “mean” anything yet, and a word taught on a pictogram alone is a word attached to that pictogram. Other children do fine with it from the start — check what works for yours.
These vary in how abstract they are — a child can be fluent with one and lost on another, and there is no single required order to pass through them. A common mistake is starting with pictograms alone for a child who isn’t ready for that abstraction; when in doubt, a real photo is a reasonable default, and pictograms are worth trying whenever it’s convenient to check, not held back until some other stage is “complete”. And use several different images per word — three different shoes teach the concept “shoe” better than the same photo repeated does.
The practice session: short, with support available
- Lay out 2 or 3 images, say the word (“shoe!”), and wait for a touch.
- At first, help them get it right: move the correct image closer or point at it. Withdraw that help gradually — that’s errorless learning, and it’s the difference between a child who wants to play and one who leaves the table.
- Distribute the correct image’s position unpredictably, rather than a strict every-round alternation, and mix which word you’re asking about — several rounds of the same word in a row can be memorized by position instead of by meaning.
- Use a short window and stop when participation drops. A final correct response is not required.
Once they touch the right image reliably, raise the difficulty: more options, more similar images, and from “touch the shoe” to “give me the shoe” with real objects around the house. That last step, from the table to life, is the one that truly matters, and it’s worth provoking on purpose: ask for the shoe in the hallway, at the park, at grandma’s.
Where Interlaza fits
Interlaza can present spoken-word-to-picture relations in Spanish and English using realistic images and pictograms, apply configured fading rules and organize the next step in the Family route. That reduces preparation while keeping generalization to new images, voices and real objects as a separate question.
And remember: the app trains comprehension with precision, but words finish being learned in real life. Name what your child looks at, celebrate what they point to, and use the same words they’re practicing on screen.